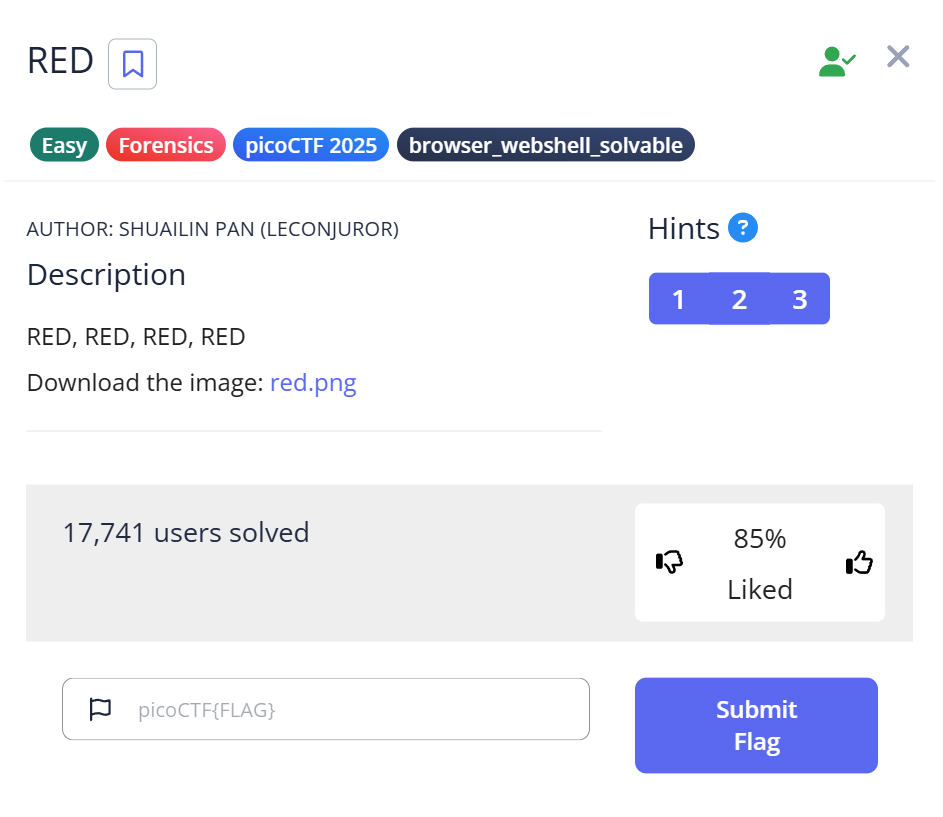
picoCTF RED is a Forensics Easy challenge where the flag is hidden inside a tiny 128×128 red PNG using LSB steganography — but the image itself tells you exactly what to look for, if you know where to read. The challenge description is just “RED, RED, RED, RED.” A solid red square that reveals nothing to the eye. I wasted time on visual inspection and on tools that don’t fit PNG steganography before a single exiftool run changed everything: the image contained a poem in its metadata, and the first letter of each sentence spelled out “CHECKLSB.” Everything after that was execution.
The image that looks like nothing
The challenge hands you a file called red.png. I opened it — a solid red square, exactly 128×128 pixels. No visible text, no subtle color variation, nothing obviously out of place. The challenge description being just the word “RED” repeated four times wasn’t helping.
First stop, as always, was confirming what the file actually is:
$ file red.png
red.png: PNG image data, 128 x 128, 8-bit/color RGBA, non-interlaced
Standard PNG, RGBA color space (red, green, blue, plus an alpha transparency channel). 796 bytes — unusually small for a 128×128 RGBA image. That size immediately suggested the image data wasn’t carrying much variation: almost certainly a near-solid color with the steganographic payload embedded in the low-order bits rather than in visible pixel differences.
I tried steghide out of habit. It failed immediately — steghide works on JPEG and BMP, not PNG. Then I ran binwalk, which found the embedded zlib stream (that’s just the normal PNG IDAT chunk compression) and nothing else. Two tools, zero results, five minutes gone.
What exiftool found in the metadata
PNG files can carry arbitrary metadata fields — author, description, copyright, creation software, and custom fields that the creator can name anything. Running exiftool to check all metadata fields:
$ exiftool red.png
ExifTool Version Number         : 13.25
File Name                       : red.png
Directory                       : .
File Size                       : 796 bytes
File Modification Date/Time     : 2025:10:21 10:23:49+09:00
File Permissions                : -rw-r--r--
File Type                       : PNG
File Type Extension             : png
MIME Type                       : image/png
Image Width                     : 128
Image Height                    : 128
Bit Depth                       : 8
Color Type                      : RGB with Alpha
Compression                     : Deflate/Inflate
Filter                          : Adaptive
Interlace                       : Noninterlaced
Poem                            : Crimson heart, vibrant and bold,.Hearts flutter at your sight..Evenings glow softly red,.Cherries burst with sweet life..Kisses linger with your warmth..Love deep as merlot..Scarlet leaves falling softly,.Bold in every stroke.
Image Size                      : 128x128
Megapixels                      : 0.016
There it is: a Poem field. Custom metadata field, not part of the standard PNG spec — someone added it deliberately. The poem reads:
Crimson heart, vibrant and bold,
Hearts flutter at your sight.
Evenings glow softly red,
Cherries burst with sweet life.
Kisses linger with your warmth.
Love deep as merlot.
Scarlet leaves falling softly,
Bold in every stroke.
A poem about the color red — thematically coherent with the challenge name, which is exactly the kind of misdirection that makes you read the content instead of analyzing the structure.
Decoding the poem: CHECKLSB
I read the poem a couple of times looking for hidden words, reversed text, number encoding. Then I tried the most basic substitution: take the first letter of each sentence.
Crimson heart, vibrant and bold,   → C
Hearts flutter at your sight.      → H
Evenings glow softly red,          → E
Cherries burst with sweet life.    → C
Kisses linger with your warmth.    → K
Love deep as merlot.               → L
Scarlet leaves falling softly,     → S
Bold in every stroke.              → B

C H E C K L S B → CHECKLSB
This is an acrostic — a message hidden in the initial letters of each line. “CHECKLSB” is the instruction: check the LSB. LSB stands for Least Significant Bit, the lowest-order bit in each byte of pixel data. LSB steganography hides data by replacing those bits, which changes pixel values by at most 1 and is completely invisible to the human eye.
The challenge was telling me exactly which technique to look for. The question was which tool to use to extract it from a PNG.
Installing zsteg: the dependency problem
zsteg is the standard tool for LSB steganography analysis in PNG and BMP files. It tries every combination of bit planes, color channels, and read order to find hidden text or files. It’s not in the default apt repositories, so installation requires Ruby’s package manager (RubyGems).
If you just run sudo gem install zsteg without installing the C extension dependencies first, you get this:
$ sudo gem install zsteg
Building native extensions. This could take a while...
ERROR:  Error installing zsteg:
        ERROR: Failed to build gem native extension.
        mkmf.rb can't find header files for ruby
        at /usr/lib/ruby/include/ruby.h
That error means ruby-dev isn’t installed — you have the Ruby runtime but not the development headers needed to compile C extensions. Even with ruby-dev, if ImageMagick’s development libraries are missing, you get a second error:
ERROR:  Error installing zsteg:
        ERROR: Failed to build gem native extension.
        checking for MagickWand.h... no
        checking for wand/MagickWand.h... no
        checking for MagickWand/MagickWand.h... no
        No such file or directory - /usr/include/wand/MagickWand.h
The correct installation sequence — all four packages before the gem install:
$ sudo apt update
$ sudo apt install ruby ruby-dev imagemagick libmagickwand-dev
$ sudo gem install zsteg
imagemagick handles the image processing internals; libmagickwand-dev provides the C headers that zsteg’s native extension compiles against. Both are required. The gem install completes cleanly once all four are in place.
Reading the zsteg output
Running zsteg against the file produces a lot of output:
$ zsteg red.png
meta Poem           .. text: "Crimson heart, vibrant and bold,\nHearts flutter at your sight.\nEvenings glow softly red,\nCherries burst with sweet life.\nKisses linger with your warmth.\nLove deep as merlot.\nScarlet leaves falling softly,\nBold in every stroke."
b1,rgba,lsb,xy      .. text: "cGljb0NURntyM2RfMXNfdGgzX3VsdDFtNHQzX2N1cjNfZjByXzU0ZG4zNTVffQ==cGljb0NURntyM2RfMXNfdGgzX3VsdDFtNHQzX2N1cjNfZjByXzU0ZG4zNTVffQ==..."
b1,rgba,msb,xy      .. file: OpenPGP Public Key
b2,g,lsb,xy         .. text: "ET@UETPETUUT@TUUTD@PDUDDDPE"
b2,rgb,lsb,xy       .. file: OpenPGP Secret Key
b2,bgr,msb,xy       .. file: OpenPGP Public Key
b2,rgba,lsb,xy      .. file: OpenPGP Secret Key
b2,rgba,msb,xy      .. text: "CIkiiiII"
b2,abgr,lsb,xy      .. file: OpenPGP Secret Key
b2,abgr,msb,xy      .. text: "iiiaakikk"
b3,rgba,msb,xy      .. text: "#wb#wp#7p"
b3,abgr,msb,xy      .. text: "7r'wb#7p"
b4,b,lsb,xy         .. file: 0421 Alliant compact executable not stripped
The “OpenPGP Public Key” and “OpenPGP Secret Key” entries look alarming at first glance, but they’re false positives. zsteg identifies file types by checking magic bytes — the first few bytes that identify a file format. In a near-solid red PNG, many bit-plane combinations produce short runs of bytes that happen to match these magic byte patterns. The entries don’t represent real cryptographic keys; they’re pattern artifacts from a low-entropy image.
The real payload is on the second line: b1,rgba,lsb,xy. That notation means: 1 bit per channel (b1), reading all four RGBA channels (rgba), least significant bits first (lsb), scanning pixels left-to-right top-to-bottom (xy). The content is a long Base64 string repeated multiple times — that repetition is the encoding wrapping around the pixel data more than once.
From Base64 to the flag
Taking the first non-repeated copy of the Base64 string and decoding it:
import base64
cipher = "cGljb0NURntyM2RfMXNfdGgzX3VsdDFtNHQzX2N1cjNfZjByXzU0ZG4zNTVffQ=="
plain = base64.b64decode(cipher).decode()
print(plain)
$ python3 decode.py
picoCTF{r3d_1s_th3_ult1m4t3_cur3_f0r_54dn355_}
The == at the end is Base64 padding — a standard artifact that appears when the input length isn’t a multiple of three bytes. It doesn’t indicate encryption or a second encoding layer; it’s just how Base64 handles non-aligned input lengths.
Flag: picoCTF{r3d_1s_th3_ult1m4t3_cur3_f0r_54dn355_}
Full solve walkthrough
| Step | Action | Result | Note |
|---|---|---|---|
| 1 | Open red.png visually | Solid red square, nothing visible | Visual inspection useless for LSB |
| 2 | Run file red.png | PNG, 128×128, RGBA | RGBA = 4 channels available for encoding |
| 3 | Try steghide | Tool error — not supported for PNG | Rabbit hole: steghide works on JPEG/BMP |
| 4 | Run binwalk | Finds zlib stream (PNG IDAT data), nothing else | Rabbit hole: normal PNG compression, not a real payload |
| 5 | Run exiftool red.png | Discovers “Poem” metadata field with 8-sentence poem | The key insight |
| 6 | Read first letter of each poem line | C-H-E-C-K-L-S-B = “CHECKLSB” | Acrostic cipher pointing to LSB steganography |
| 7 | Install zsteg with all dependencies | ruby, ruby-dev, imagemagick, libmagickwand-dev | gem install alone fails with header errors |
| 8 | Run zsteg red.png | Multiple outputs; b1,rgba,lsb,xy shows Base64 | OpenPGP entries are false positives |
| 9 | Decode Base64 string in Python | picoCTF{r3d_1s_th3_ult1m4t3_cur3_f0r_54dn355_} | ✅ Flag |
How LSB steganography works in a PNG
A 128×128 RGBA image contains 128 × 128 × 4 = 65,536 bytes of pixel data. Each byte stores one channel value (0–255). The least significant bit of each byte contributes nothing visible to the image — flipping it changes a pixel from, say, 255 to 254, a difference of 0.4% in brightness that no human eye perceives.
By replacing those LSBs with the bits of a secret message, you get 65,536 bits = 8,192 bytes of hidden data capacity. This image’s flag payload (the Base64 string is about 90 characters, repeated until the capacity is filled) easily fits within that space.
The b1,rgba,lsb,xy notation in zsteg’s output describes the extraction path exactly: take 1 bit from each channel (b1), read all four RGBA channels (rgba), take the least significant bit (lsb), scan pixels in row-major order (xy). That’s the most common LSB encoding scheme because it’s simple, high-capacity, and produces no visible artifacts.
LSB steganography appears in real-world cases too — not usually with CTF flags, but with smuggled data in image attachments sent through communication channels that monitor content but not pixel-level differences. The technique is genuinely difficult to detect without dedicated analysis tools like zsteg or stegsolve.
What I’d do differently next time
Run exiftool before binwalk or steghide when the challenge file is an image. Metadata fields are quick to check and occasionally contain the entire answer — here it contained the explicit hint “CHECKLSB.” Binwalk is better suited for files where you’re looking for embedded archives or firmware; for steganography challenges, exiftool and zsteg are the better starting points.
Also: when a challenge name is a single repeated word (“RED, RED, RED, RED”), the thematic consistency usually extends into the solution. The poem full of red imagery wasn’t decoration — it was the vehicle for the acrostic. Reading for structure rather than content is a habit worth building.
Further Reading
RED is part of the picoCTF Forensics category. CTF Forensics Tools: The Ultimate Guide for Beginners covers which tools apply to image forensics, steganography, and metadata analysis — with guidance on when to reach for each one.
For steganography challenges that use steghide instead of LSB encoding, steghide in CTF covers the installation, common error messages (including the identical-error trap for wrong password versus no embedded data), and how steghide’s DCT-domain approach differs from pixel-level LSB techniques.
If the challenge had provided a QR code instead of a PNG with hidden metadata, zbarimg in CTF covers QR and barcode decoding — including partial/damaged code recovery and the common pitfall of trying to decode a QR code that’s actually encoded in a second layer.