📋 Challenge Information
Before diving into the solution, here are the official details for this challenge:
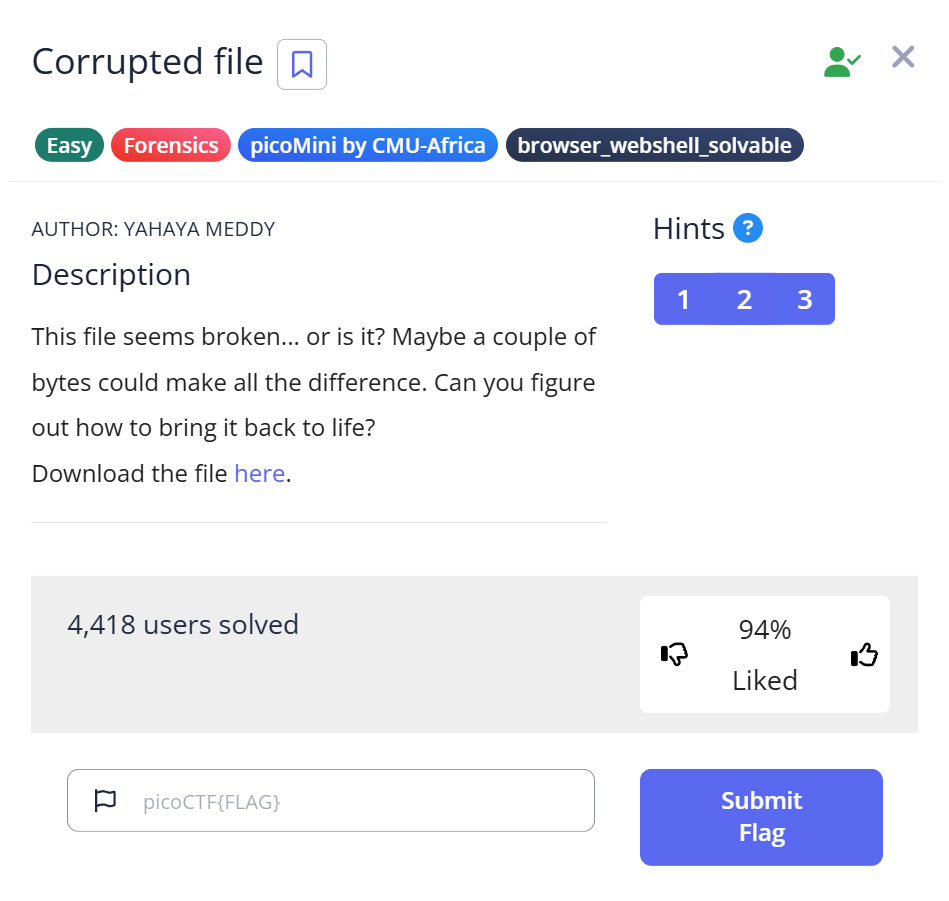
Objective: Restore a file that cannot be opened and find the hidden flag.
Platform: picoCTF
Category: Forensics
Challenge Name: Corrupted File (picoCTF 2019 / Forensic Collection)
✨ Introduction: Why did the “file” command fail me?
When I first downloaded the challenge file, I ran the standard file command, expecting a quick answer. Instead, I got the most generic response possible: “data”.
This is a classic “aha!” moment in CTF forensics. It means the file’s “identity card” (the magic number) is missing or sabotaged. In this writeup, I’ll show you how I moved past this wall, used a bit of binary intuition, and manually repaired the file to reveal the flag. If you’ve ever been frustrated by a file that simply “won’t open,” this guide is for you.
🧩 Challenge Overview
The mission is simple but tricky: we have a file named file that claims to be nothing.
- The Goal: Force the file to reveal its true format.
- The Obstacle: The first few bytes are intentionally broken.
- The Reward: A hidden flag inside a restored image.
🛠️ My Forensic Toolbox
Instead of just listing tools, here is why I chose them for this specific task:
- file: My first point of contact (even if it failed this time).
- cat & strings: Crucial for spotting “hidden-in-plain-sight” signatures like
JFIF. - hexdump: To see the “ugly truth” of the corrupted header.
- hexedit: My “surgical tool” to manually rewrite the file’s DNA.
🧭 Step-by-Step Solution
🪪 Step 1: Confirming the Corruption
$ file file
file: data
My Thought Process: When file returns “data,” I don’t give up. It tells me that the Magic Number (the first few bytes) doesn’t match any known database. This usually means the file header is broken — a common situation in CTF puzzles.
📄 Step 2: Looking for Clues in the Noise
I used cat to peek inside, but it was mostly gibberish. However:
$ cat file
\x��JFIF��C
Observation: Wait, I see “JFIF”. This is the smoking gun. Even though the very beginning of the file is messy, the presence of “JFIF” almost guarantees this is a JPEG image.
🔠 Step 3: Validating the “JFIF” Theory
To be sure, I filtered out the binary junk:
$ strings file | head -n 1
JFIF
Why this matters: strings confirmed that “JFIF” wasn’t just a fluke. I now knew I was looking at a JPEG, but one that was “headless.”
More information about strings can be found here.
strings Command in CTF: How to Extract Hidden Data from Binaries
🖼️ Step 4: Surgical Inspection with Hexdump
This is where I found the specific error:
$ hexdump -C -n 8 file
00000000  5c 78 ff e0 00 10 4a 46   |\x....JF|
The Discovery & Insight: The file starts with 5c 78. Interestingly, these bytes represent the ASCII characters \x.
My Theory: It seems the challenge creator was leaving a clever hint. In programming, \x is a prefix used to denote hexadecimal values. It’s as if the file was literally saying, “Hey, look at my hex values!” Instead of a valid image header, we found a literal string hint. A real JPEG must start with FF D8 FF E0.
🖼️ Step 5: Repairing the “Head” of the File (The Surgical Fix)
Now that we know the file is a JPEG being “masked” by the incorrect \x (5c 78) header, we need to perform a manual hex transplant. I used hexedit because it’s fast and works directly in the terminal.
- Open the file:
$ hexedit file - Locate the Target Bytes: Immediately, the cursor should be at the very first byte (
00000000). You will see5C 78 FF E0....
- Perform the Patch: Simply type
FF D8. You will see the characters change from5C 78toFF D8.- The Transformation: * Before:
5C 78 FF E0(Unknown/Corrupted)- After:
FF D8 FF E0(Standard JPEG SOI Header)
- After:
- The Transformation: * Before:
- Save and Exit: Press
Ctrl + X, then pressYto confirm the save.
⚠️ Troubleshooting Tip: If you accidentally type extra bytes, you might shift the entire file structure, which will break the image. If you make a mistake, it’s best to press Ctrl + C to exit without saving and start over.
Because simply renaming it does not repair the corrupted binary header.
More information about hexedit can be found here.
hexedit in CTF: How to Inspect and Modify Binary Files
✏️Step 6: Verification and Reveal
Before jumping to open the file, I always double-check my work with the file command again. This is the ultimate test to see if the operating system now recognizes the file.
$ file file
file: JPEG image data, JFIF standard 1.01
Success! The OS now sees it as a legitimate JPEG. I renamed the file to flag.jpg to make it easier to handle:
$ mv file flag.jpg
🏁 Capture the Flag
Finally, I opened flag.jpg using a standard image viewer (or feh in the terminal).
The image, which was previously unreadable, opened perfectly. In the center of the restored picture was the flag we were looking for:

🎉 picoCTF{r3st0r1ng_th3_by73s_b67c1558}
🧪 Practical Takeaways (What I Learned)
This challenge is a fantastic lesson in how file headers work. Here are my three main takeaways:
Pattern Recognition: Seeing 5c 78 (\x) at the start was a huge hint. It shows that the challenge designer wanted us to think about hexadecimal formatting. Always look for these “human-made” patterns in binary data.
Signatures Over Extensions: A file’s extension (like .jpg) is just a label. The real “DNA” of a file is in its Magic Numbers (the first few hex bytes). If these don’t match, the software won’t know how to decode the data.
The “Manual Fix” Mindset: When automated tools like binwalk or foremost fail to extract a file, manual hex editing is often the only way. Understanding the basic headers for JPEG (FF D8) and PNG (89 50 4E 47) is a must-have skill for CTF Forensics.
💡Conclusion
Recovering this file was a satisfying puzzle. It required moving beyond simple automated tools and getting our hands dirty with a hex editor. By identifying the JFIF string and repairing the SOI header, we transformed a “broken” file into a clear victory.
Happy Hacking!
📚 Further Reading
Here are related articles from alsavaudomila.com that complement this challenge:
Leave a Reply